Tracheostomy tapes are made of cotton and are provided with the tube. Tapes need to be attached to the tubes prior to each change. The tapes are then tied around the child's neck once tube inserted.
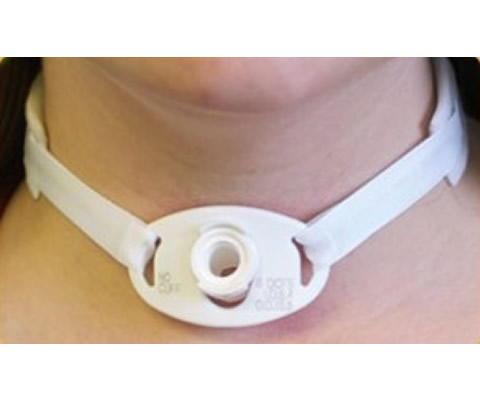
Once tied and in place the tightness of the tapes needs checking throughout the day. Tapes need to be changed daily and if soiled or wet. Increase frequency of changes if skin is showing signs of breakdown. Velcro tapes can also be used as they are more comfortable (Fig 1).
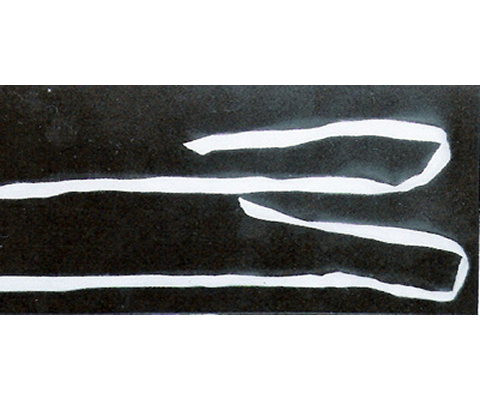
The tape comes as one long piece with the tube. Cut it into two pieces of equal lengths.
Take one end of each piece of tape and fold it partly back on itself, making a hook shape as shown in Fig 2.
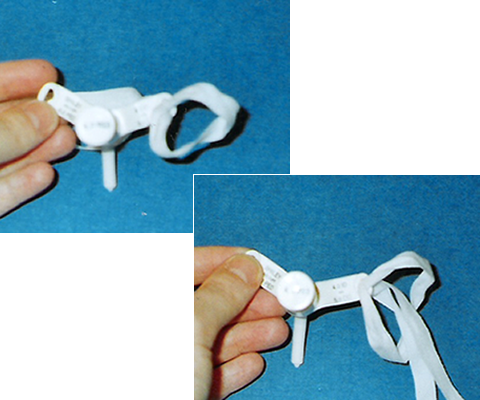
Next, take the part of the tape where it is folded and thread this fold through one side of the flange to make a loop (Fig 3). Pass the loose ends of the tape through this loop and pull, ensuring that the tape is flat on the underneath. Repeat the process for the other piece of tape on the opposite side of the flange.
Fig 4 is a video demonstrating changing velcro tapes.
Fig 5 is a video demonstrating changing cotton tapes.